Ever wonder the best way to start seeds and have them actually germinate? I sure have! So, I did some research, and have put down a few of (I feel) the most useful tips for starting seeds! Since spring is coming (eventually!), it seems a good time to get the info out there!
See – the thing is – the growing season just isn’t long enough. Especially if you live somewhere like Idaho, where we get freezes at night sometimes up until the end of May! So, it’s a great idea to grow your seeds inside, where it’s nice and warm, and then transplant them outside to fruit. Plus, starting your seeds inside sounds much more complicated than it really is.
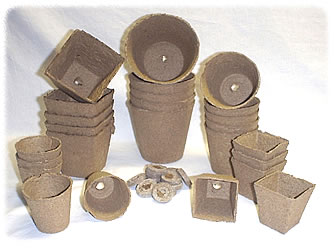
The first thing – make sure you have everything you need. You need containers of some sort; you can use Solo cups with small holes poked in the bottom for drainage, peat pots, paper pots, soil blocks, or you can use plastic trays you pick up at the garden center of any hardware store. The nice thing about the peat, paper, and soil blocks are you can just plant them right in the ground. However, they aren’t reusable. The plastic ones are reusable, but you have to remove them from the plant, and if you aren’t careful, you can damage the roots. However – I wouldn’t stress too much about this – it’s not rocket science. Just be gentle. 
Also – you need some sort of growing medium. Now – there are about, oh . . . one billion different options here. Honestly – pick one. You can use coconut core, good ol’ dirt from the garden, potting mix, and multiple other options, or some combination of all of them. We have a great potting mix for your seedlings here. Better yet, use your Soil Cut Starter Pack, and get a premixed fertilizer-enhanced version of our potting mix!
When do you start seeds? Well, that sort of depends. You want to check the seed packet and see the time until germination and plant accordingly. You don’t want plants ready to go when it’s still freezing outside at night –trust me. That’s not fun. So it varies according to plant. One thing to remember – plants like room to spread out – so make sure you don’t keep them in too small a container for long. Start them small – but when they start growing – move them.
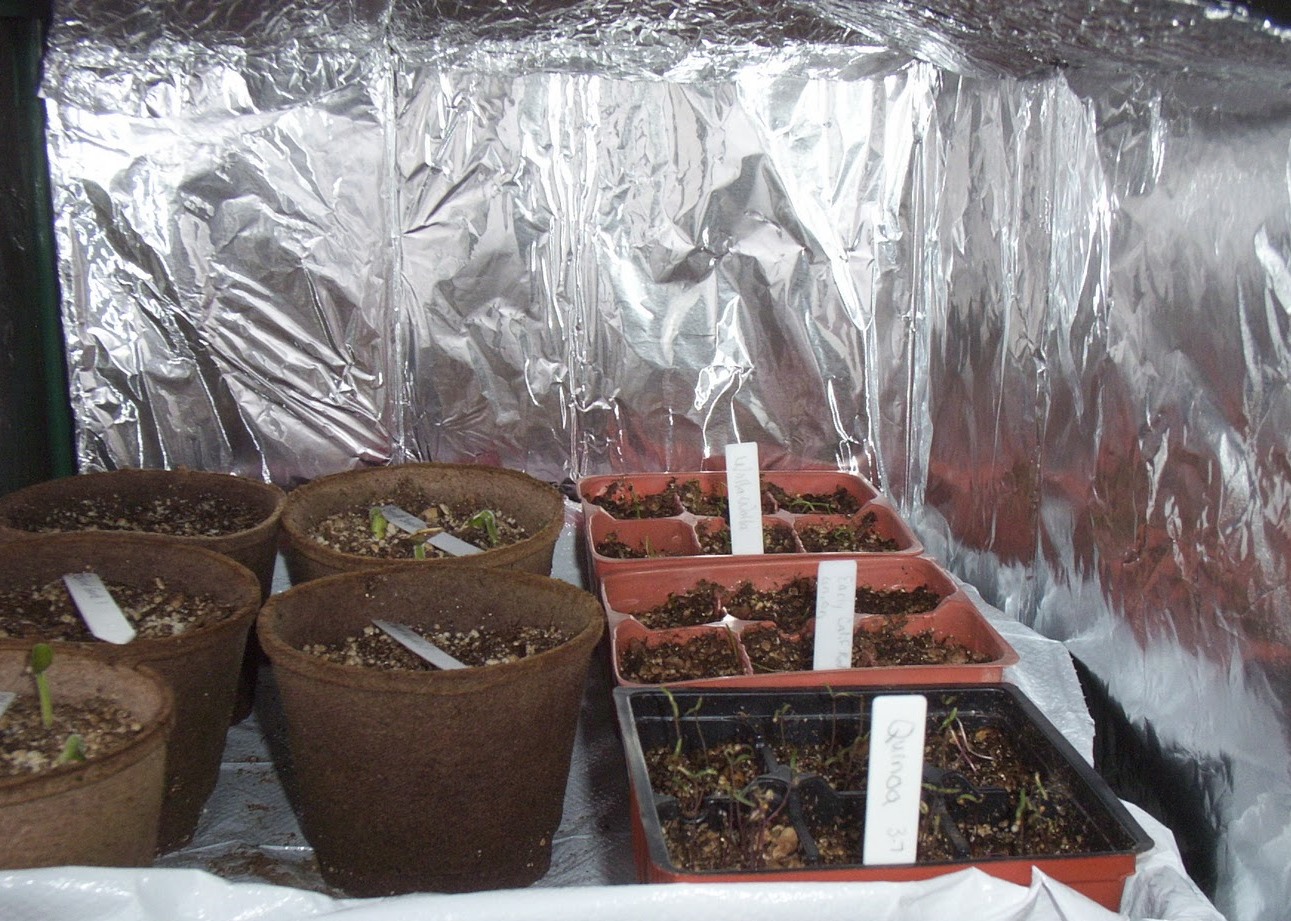
Once your seeds are planted, you want to keep them warm and humid. They’ll germinate best this way. (While you are waiting for them to germinate, make sure you mist them with water frequently (don’t drown them though!)), and keep them in a warm place – somewhere between 70-80 Fahrenheit. Once you see sprouting, remove any plastic covering you might have on your plants – you don’t want them to get a disease from being over-watered. Let them dry out just a bit between waterings at this point. Also – make sure you label your containers!!! It’s really easy to forget what is where!
Make sure they get plenty of light once they sprout – light tells plants a lot, and they depend on it to know if it’s time to grow, hibernate, bloom, etc. So make sure they are in a South-facing window if you can, and they get a lot of direct sunlight. Also – you can increase the amount of light they get with aluminum foil – cover some cardboard with it and prop it behind your seedlings so the light from the window reflects off it and bounces back on them.
Once they are big enough, you can start to take your plants outside a bit during the day – this is known as “hardening off”. Basically, you expose them to the outside weather a bit at a time so they don’t go into shock when you move them outside. Make sure you don’t forget them overnight though – this, also, is not fun. You can also use some plastic sheeting to give them a bit of a greenhouse effect while they are out for the first little while. Do this over at least three days, and they should be alright as long as the nights aren’t too cold to survive. In Idaho, we wait until it’s been a couple weeks since the last frost before we plant anything in the ground. There just always seems to be a surprise frost if we don’t.